
Crawler Bot

PlatformGet a platform from teacher. Then put the servos through the hole from the top down.
|
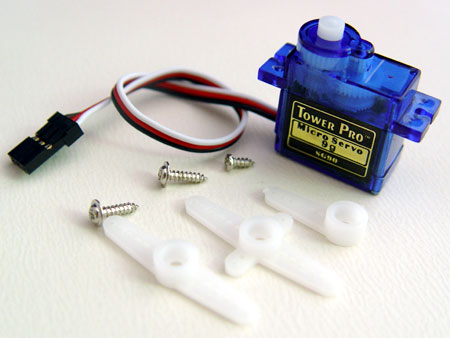
ServoGlue the servo to the platform from top down (not underneath) as shown in the picture. Wires should face the outside edge.
|
WireYou 2 pieces of wire that are each 12" in lengths.
|
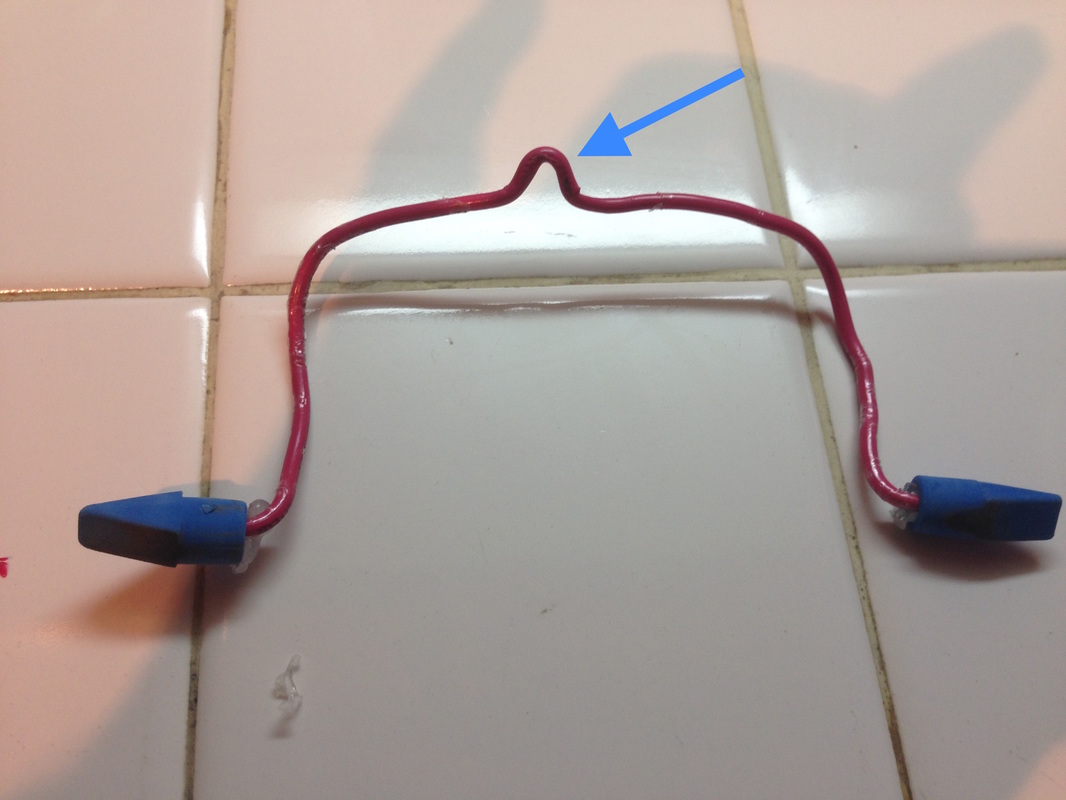
LegsBe sure to make a curved bend at the center top of the legs. This will help it stick better when you glue it.
|

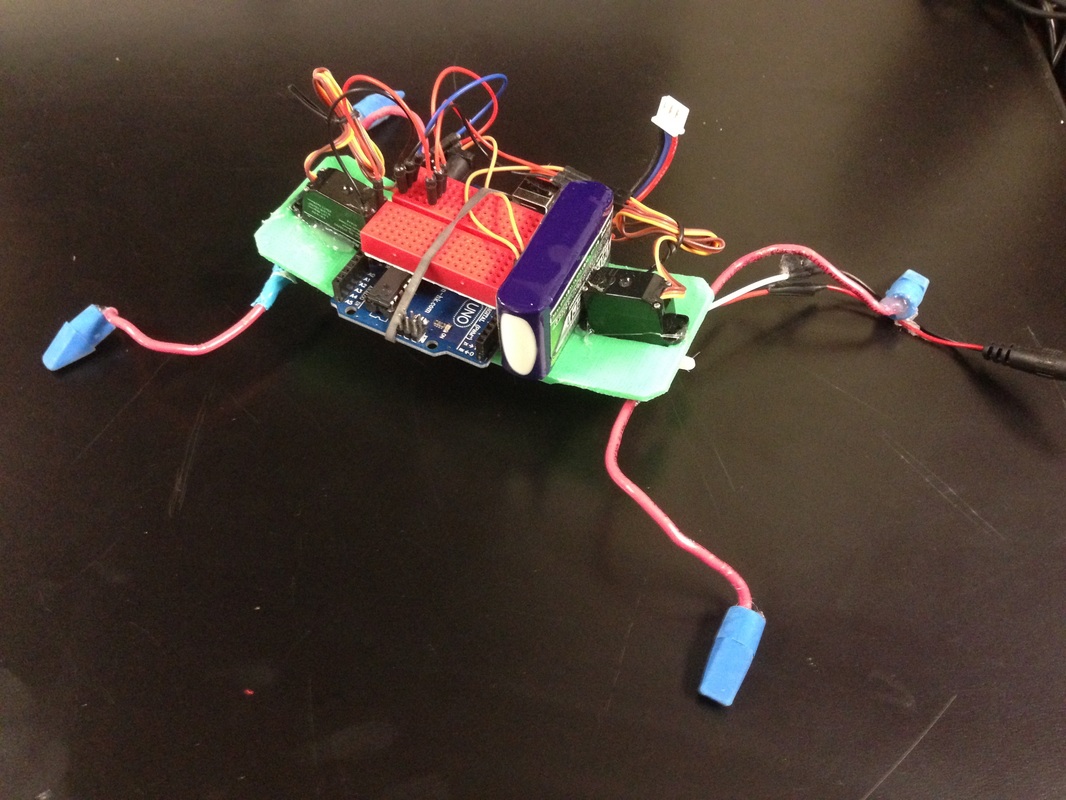
WiringGet your mini breadboard and an Arduino. Place on top of platform. Follow the wiring picture below. Secure the mini breadboard and Arduino with a rubber band.
|
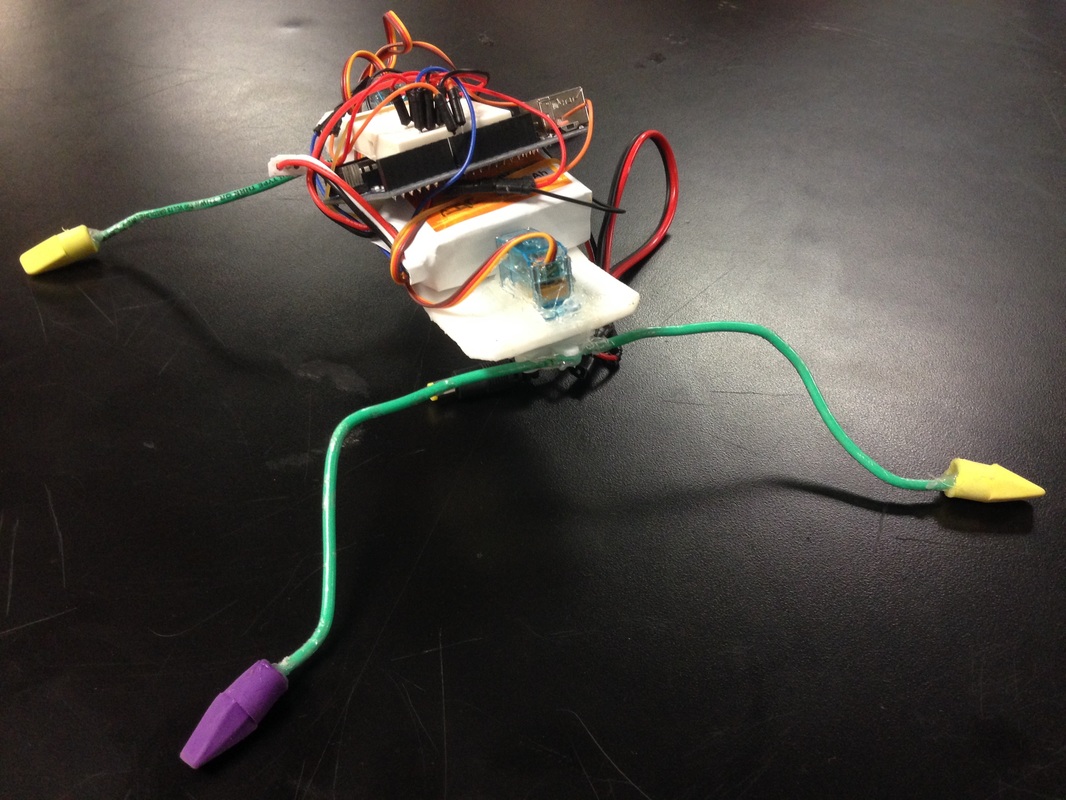
Crawler BotSee above how the crawler bot should look when complete. You will need to bend the legs a bit more and glue some pencil top erasers to the ends of the wires. Click on the picture to get a better view.
|
Wiring and Programming
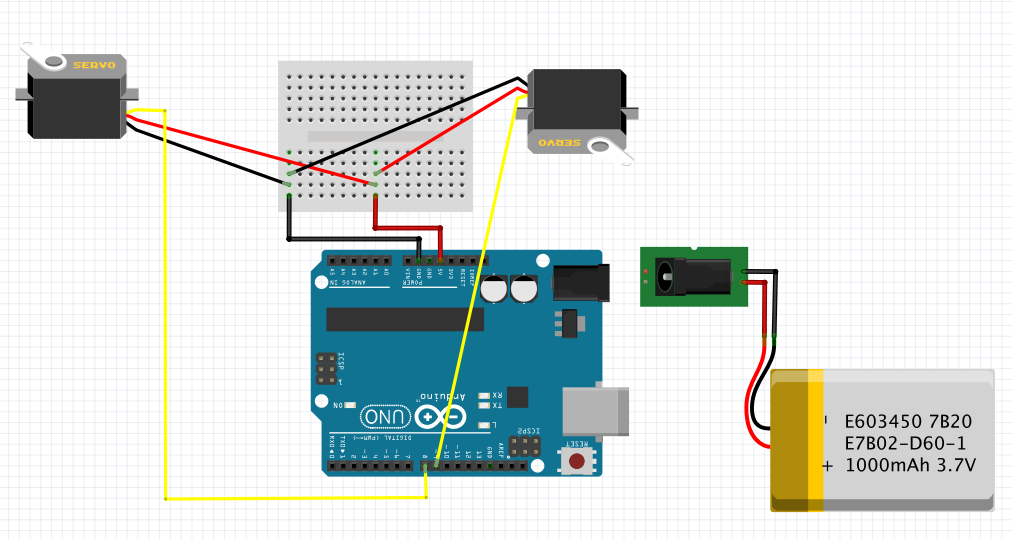
Follow the wiring diagram to wire your Crawler bot correctly. Attach the battery carefully. Ask for assistance when attaching the battery.
|
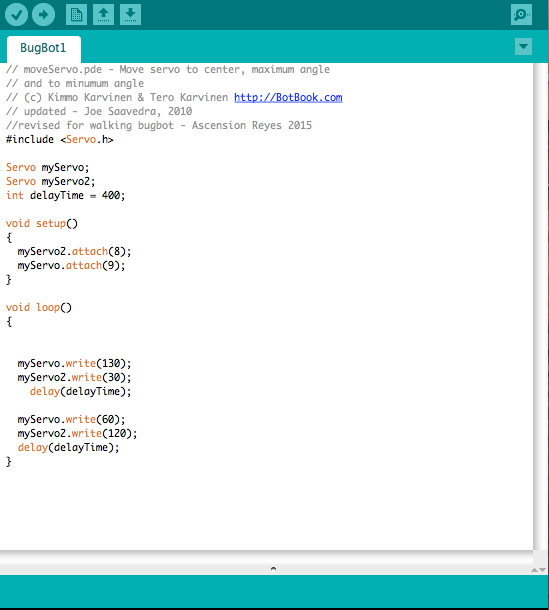
Use the code above. Type in the code to the Arduino Software. Notice how there are two groups in the void loop section. One that indicates 130 and 30, and another that indicates 60 and 120. These tell the legs how many degrees to turn and return. Adjust these as you need after you get the bot moving.
|
